Pictures of Aurora Borealis: How I Photographed the Northern Lights on My Last Night in Alaska
I came to Alaska hoping I would get the chance to take pictures of aurora borealis.
There was just one problem.
I came during summer.
After spending months traveling through Alaska, I had pretty much accepted that photographing the northern lights wasn’t going to be part of this trip. The long summer days and short nights simply weren’t working in my favor.
And honestly, I was pretty sad about it.
Not just because I wanted the photograph.
I was sad because I was leaving Alaska.
Yesterday, I finally pointed the truck south and crossed the border into Canada. I wasn’t ready to leave. This trip has been beautiful, difficult, lonely, exciting, heartbreaking, and probably one of the most important experiences of my life.
Then, shortly after crossing the border, I noticed a faint glow in the sky.
I pulled over.
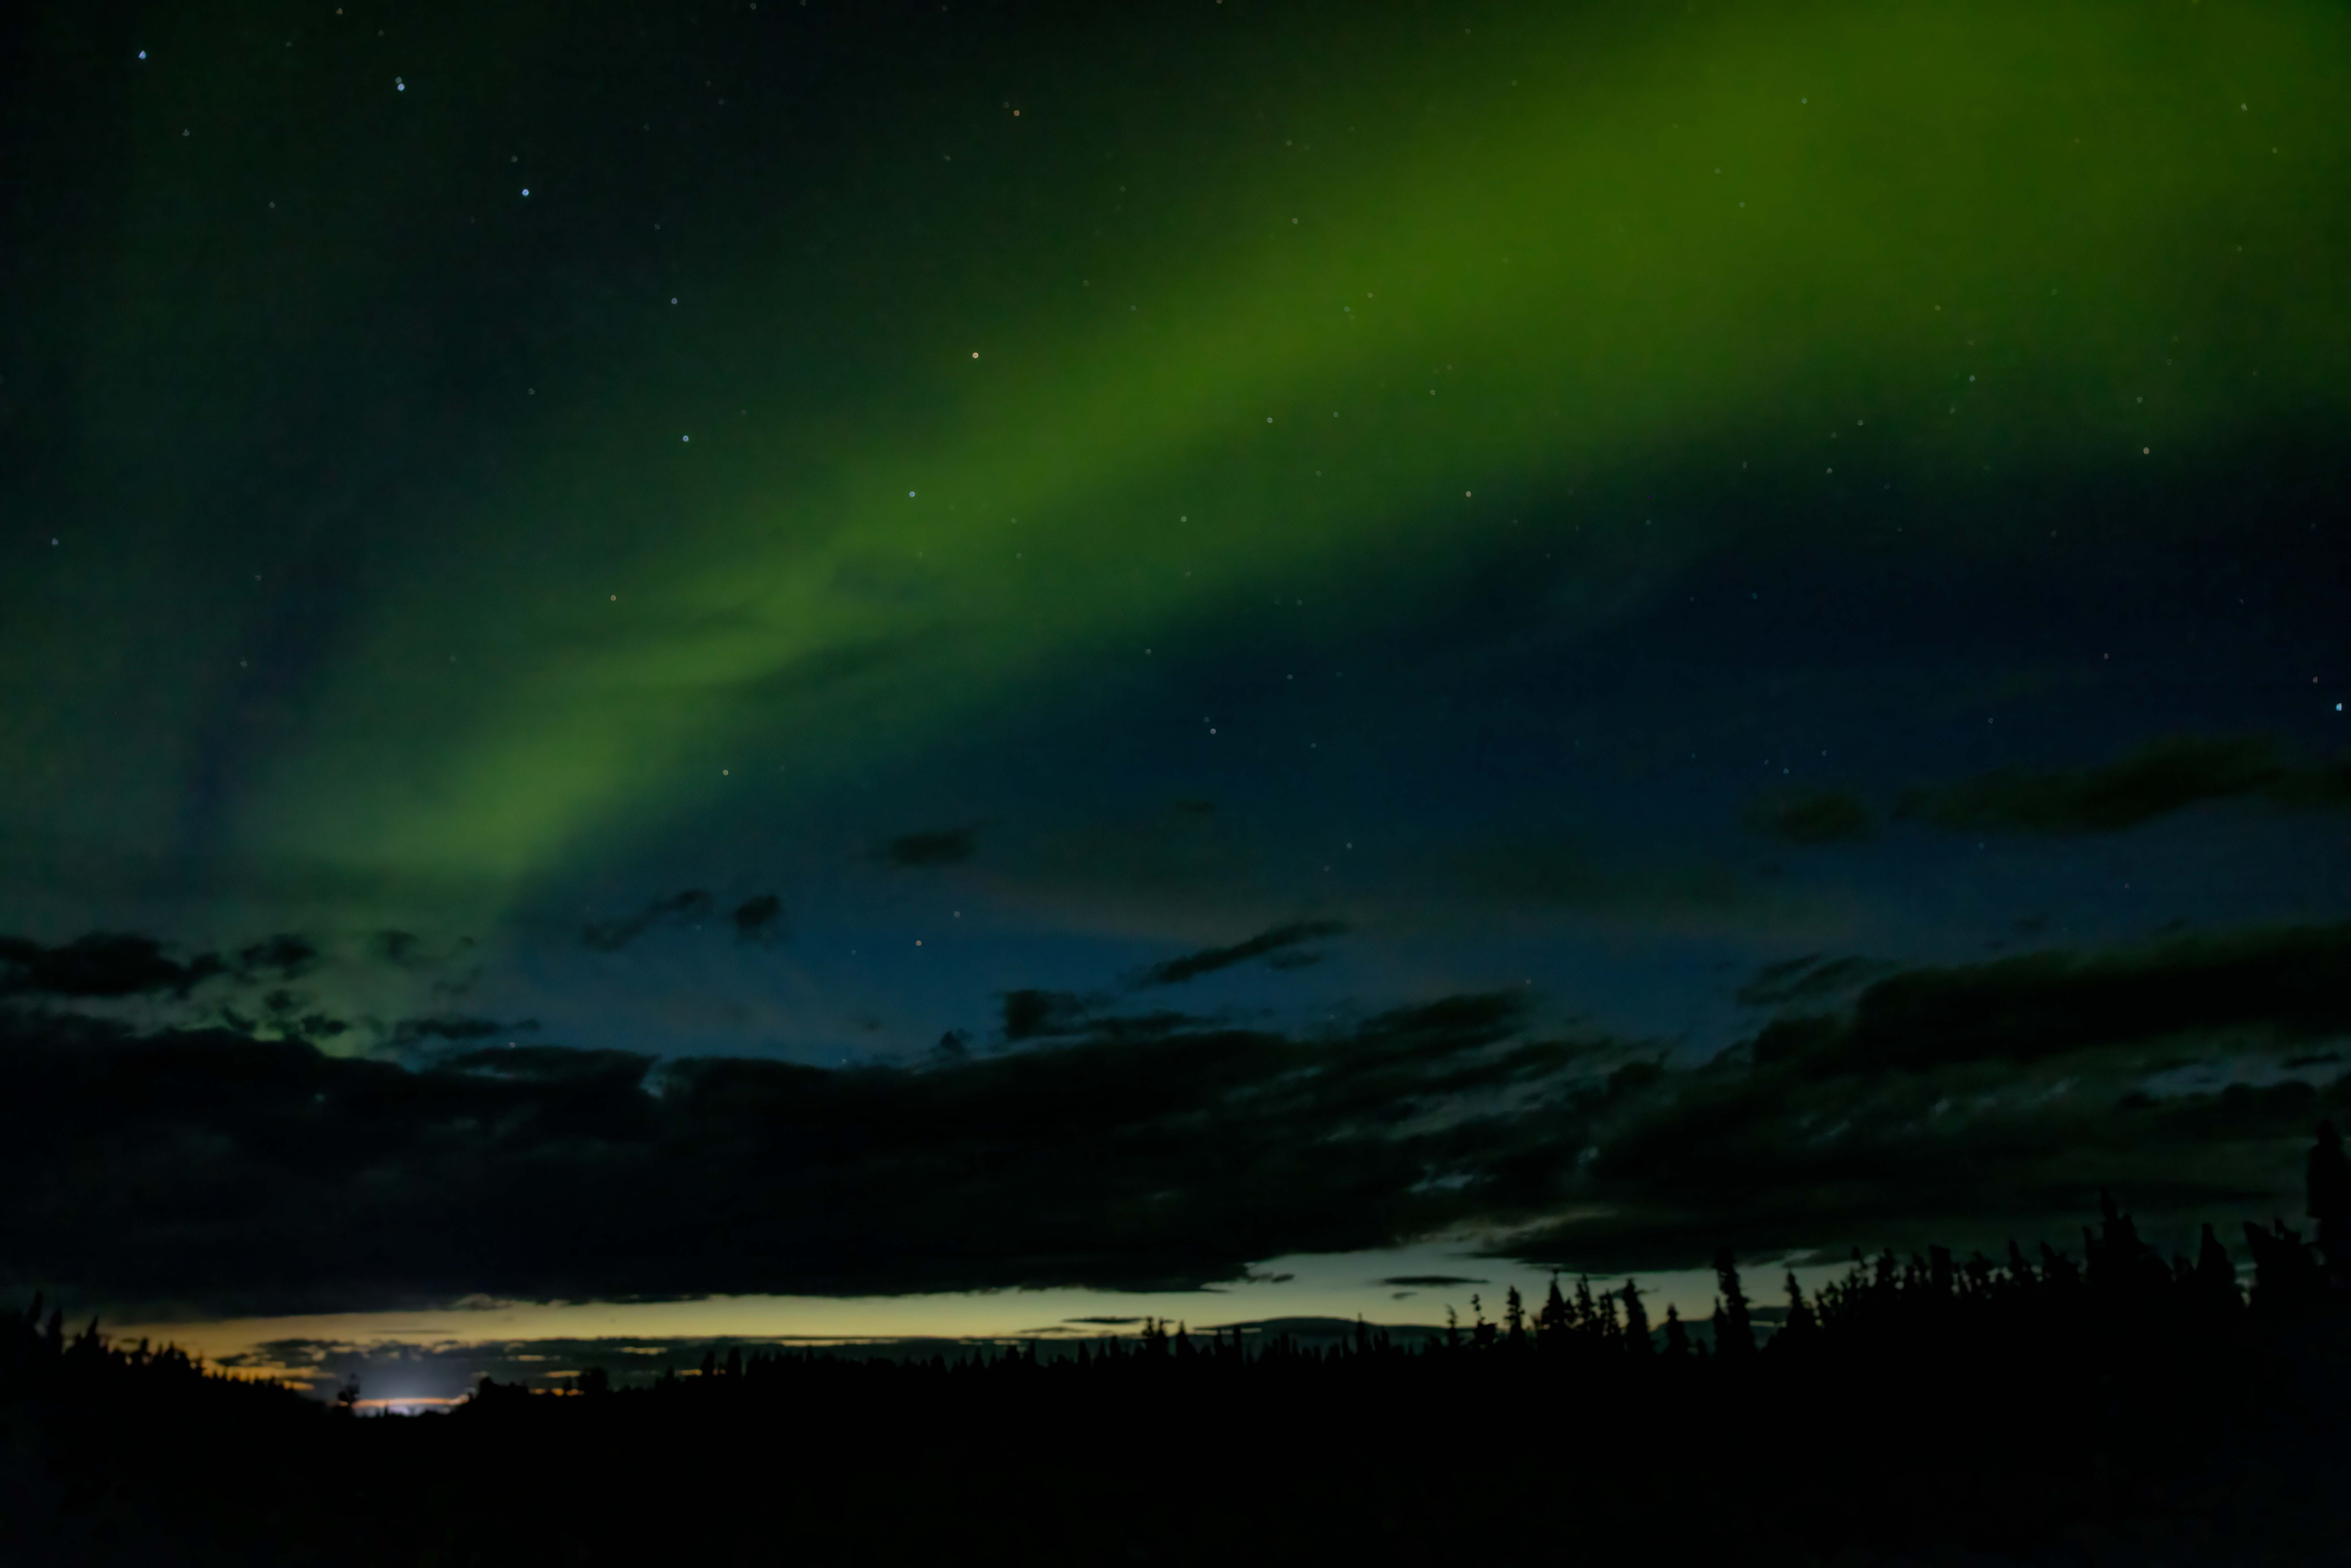
Stretching across the horizon behind me—back toward Alaska—was the aurora borealis.
It wasn’t the enormous display of dancing green curtains you see in so many pictures of aurora borealis.
It was just a subtle ribbon of light.
But at that moment, it was perfect.
It almost felt like Alaska was saying goodbye.
How I Photographed the Aurora Borealis
This wasn’t a carefully planned landscape photograph. I was standing on the side of the road with whatever composition was available to me.
I wasn’t trying to create something for my gallery.
I just wanted something to remember the moment.
But even for a quick roadside photograph, understanding a few fundamentals of night photography made a huge difference.
My settings:
Canon + 24–70mm f/2.8
Peak Design tripod
Aperture: f/2.8
ISO: 2000
Shutter: 1 second
Shutter delay: 2 seconds
The tripod allowed me to use a slow shutter without introducing camera shake. I also used a two-second shutter delay because even physically pressing the shutter button can move the camera slightly.
Then I experimented.
I dropped my ISO to 100 and tried a 30-second exposure at f/2.8.
The camera collected plenty of light.
But I didn’t like the photograph nearly as much.
Why a Longer Exposure Isn’t Always Better
The aurora borealis moves.
With a 30-second exposure, the camera isn’t capturing a single instant. It’s recording everything the aurora does during those 30 seconds.
That movement can blur together the structure and definition that makes the northern lights so beautiful.
My one-second exposure at ISO 2000 did a much better job preserving the ribbon I was actually seeing.
That’s an important lesson when you’re trying to take pictures of aurora borealis:
Don’t automatically chase the lowest possible ISO.
A higher ISO may allow you to use a faster shutter speed and preserve more structure in a moving aurora.
Experiment.
Take a longer exposure. Take a shorter one. Zoom in and compare the detail.
The “technically cleaner” photograph isn’t necessarily the better photograph.
And maybe that’s true beyond photography too.
This isn’t the best aurora photograph I’ll ever take.
If you want to learn how to take pictures of aurora borealis join my free 3 Day Shoot like a pro challenge online.
https://fullframefreedom.com/learn-photography-in-3-days
I cover how to focus on difficult things like stars in the night sky and its 100% FREE!
I hope someday I come back in the middle of winter, stand beneath an enormous aurora display, and create the kind of photograph I’ve imagined for years.
But I don’t think another photograph will ever replace this one.
Because sometimes photography isn’t about creating something worthy of a gallery wall.
Sometimes it’s simply a way of saying:
I was here.
I saw this.
I felt this.
And I don’t want to forget it.
I pulled over to take pictures of aurora borealis.
But I think what I really photographed was the end of a chapter.


